
The winter chill is biting harder than expected this January. As I sit by my window, I can’t help but notice how cold the glass feels against my skin, and it raises a thought: is there a way I can instantly cut down my heating bills and create a warmer environment? What if I told you that a simple roll of aluminum foil could be a game-changer in this battle against the cold? Isn’t that wild? Let’s dive deep into how this inexpensive, everyday item can help with heat loss—particularly around those often drafty window edges.
Highlights
- 🪟 Aluminum foil can reduce heat loss through windows by up to 15%.
- 🧊 The shiny side reflects radiant heat back indoors, enhancing thermal efficiency.
- 💡 Easy to implement as a DIY project for immediate energy savings.
- 📉 Using foil also improves temperature control in your home.
The Mechanics of Heat Transfer
Let’s break it down. Heat transfer occurs through three mechanisms: conduction, convection, and radiation. In the midst of winter, radiant heat is your primary concern, especially when sunlight hits your chilly glass. By applying aluminum foil to your window edges, you create a reflective barrier. This simple fix allows the foil to bounce radiant heat *back* into your home, rather than letting it escape. The shiny surface is like a mirror, reflecting up to an impressive 95% of incoming radiant energy.
Research shows that utilizing aluminum foil can significantly cut down the thermal transfer during colder months. It’s all about the physics! The shiny side facing outwards serves as a powerful tool in your home improvement arsenal. But remember, the *material* is not without its limitations; it mainly focuses on radiant heat and is less effective against convective heat transfer from drafts. A bit of foresight on window placement and orientation will benefit you immensely.
Installation: A DIY Approach
Alright, you’re ready to take action—let’s get practical! Installing aluminum foil is quite straightforward. Here’s your step-by-step guide:
- 🧽 Start by cleaning your windows: Dust and grime must be cleared for the foil to adhere properly.
- ✂️ Measure and cut: Ensure the foil is long enough to cover the entire window edge without gaps.
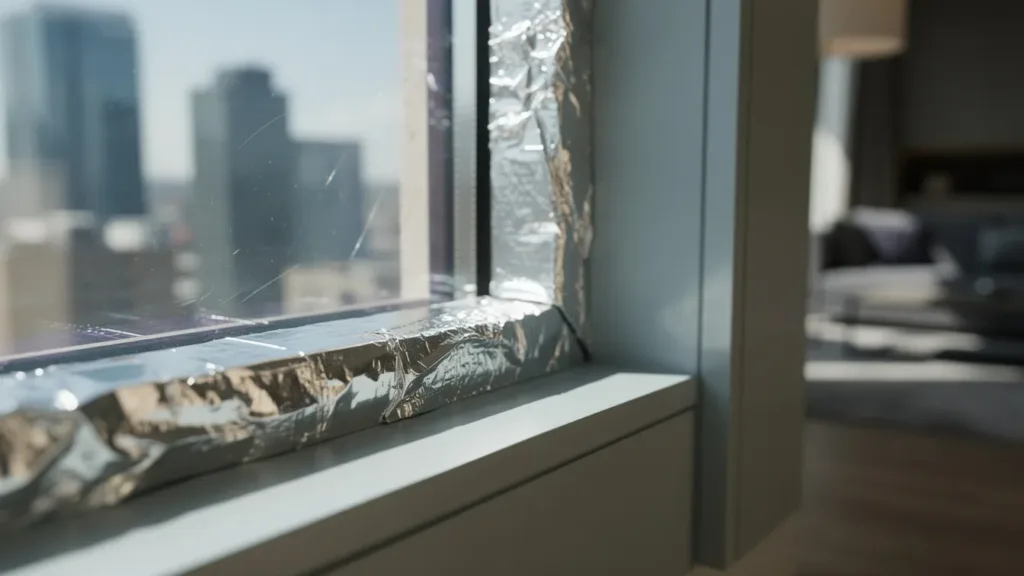
- 📏 Apply the foil: Use tape or adhesive spray to stick the foil to the edges of the window with the shiny side facing out.
While it’s a simple process, I’ve made my share of errors in home improvement projects. One time, I ended up with uneven edges that made my windows look like they belonged in a horror movie. Take your time to smooth out any wrinkles for maximum heating efficiency!
Long-Term Maintenance and Cautions
Once you’ve mastered the art of application, maintenance is relatively low-key. Clean the foil occasionally to prevent dirt build-up. Use a damp cloth; just avoid harsh chemicals that could damage it. It’s essential to check for any tears or loose spots since damaged foil can lead to subpar insulation.
Yet, here’s the kicker. Placing the foil on the *inside* could create a heat trap, leading to thermal stress on the glass, which can cause cracks. If you’re not comfortable with the foil’s aesthetics, think about using a cardboard backing or even applying it on the exterior, though this too has its own set of concerns, such as durability against wind. Always weigh the pros and cons!
Exploring Sustainable Alternatives
While aluminum foil is a solid immediate solution, don’t overlook other options for heat retention. High-efficiency window films can block a similar amount of radiant heat without the risks associated with foil. Just like foil, they’re easy to apply, but they often come with more modern aesthetics that don’t scream “DIY disaster.”
- 🖤 Thermal curtains can also help, acting as an additional layer of insulation that looks totally chic.
- 🧤 Weatherstripping is another practical approach, sealing any air leaks effectively.
- ☀️ Exterior shading devices block heat before it hits the glass, providing significant energy savings long-term.
Take Action Now!
So, what’s stopping you? If you want your home to be a cozy fortress against the winter chill, grab a roll of aluminum foil and start your own window improvement project! You’ll not only make your living space more comfortable, but you might also be contributing to your environment by reducing your energy consumption. Plus, you can say goodbye to those high energy bills that have been burning a hole in your pocket.
Feel free to return to this page for more DIY tips on home improvement. Let’s make our homes more energy-efficient together!
Think of it this way: every little tweak you make counts toward a warmer, more sustainable future. Cheers to a toast-worthy winter without the heating bill drama!